NSX-T 3.0 Setup Step 2 – Add Compute Manager & NSX Manager Cluster
Before we get started you’re going to want to make sure you have your IP addresses ready for the 2 additional NSX Managers as well as a VIP & DNS Records setup.
Log into your NSX Manager with the previously applied IP and credentials then accept the EULA.
Click on System then Fabric then Compute Managers and finally click Add. Add all the requested information and click add followed by accepting any certificate warnings. 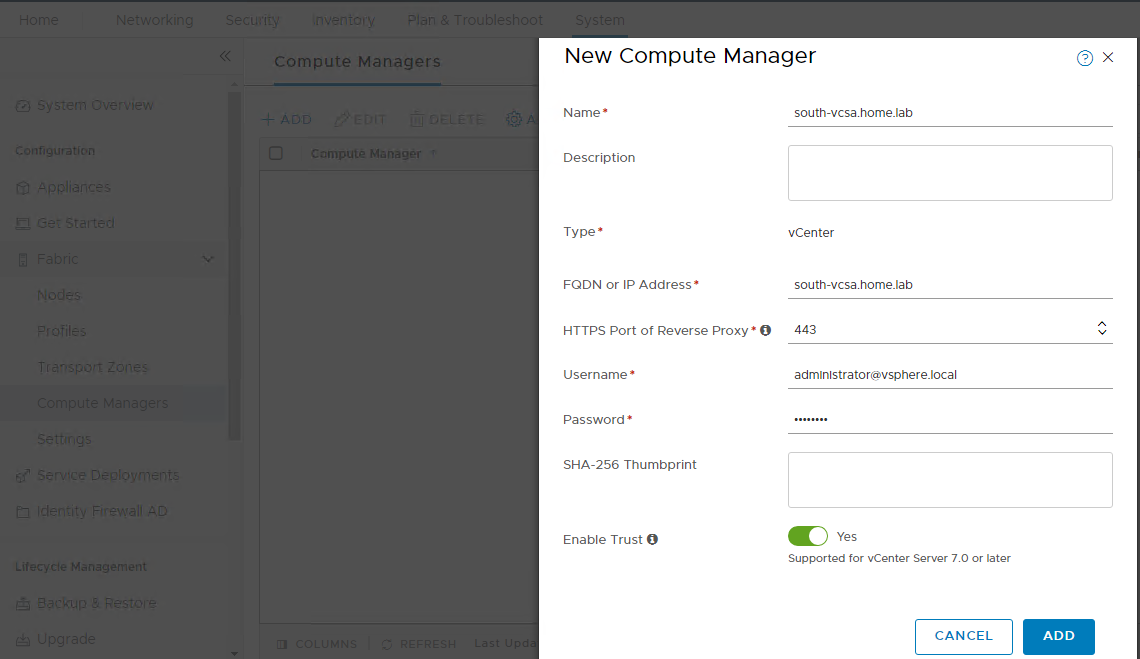
Wait for the VCSA to show as Registered & Up
Go to System and select Appliances. From there you can click Add NSX Appliance to add an additional NSX Manager. (VMware only supports a 3 node cluster). Fill out all required information
Fill out all the required information for where you want the new NSX Manager deployed and which network it will run on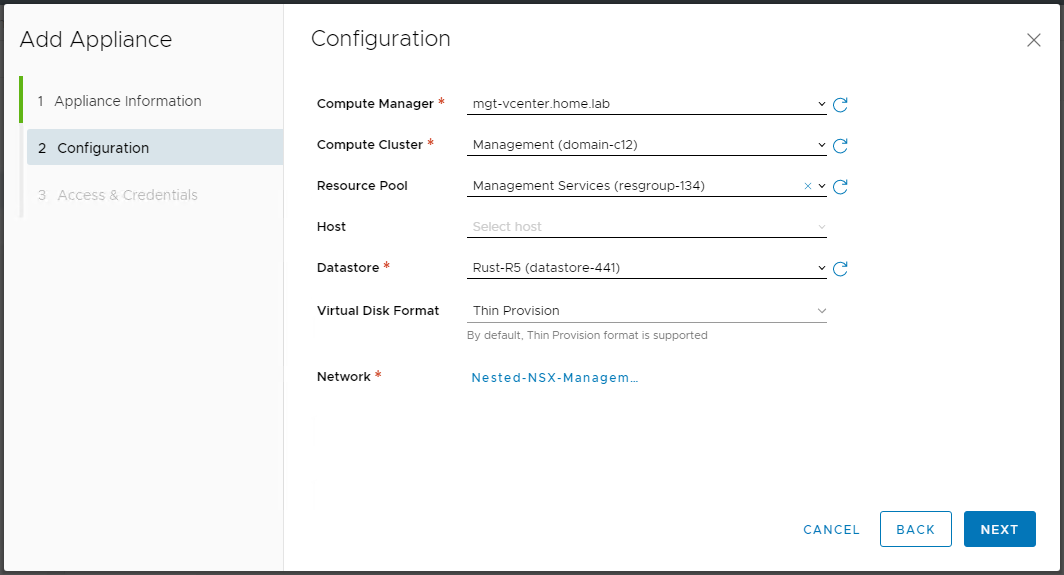
Enter your desired password and select any other options you require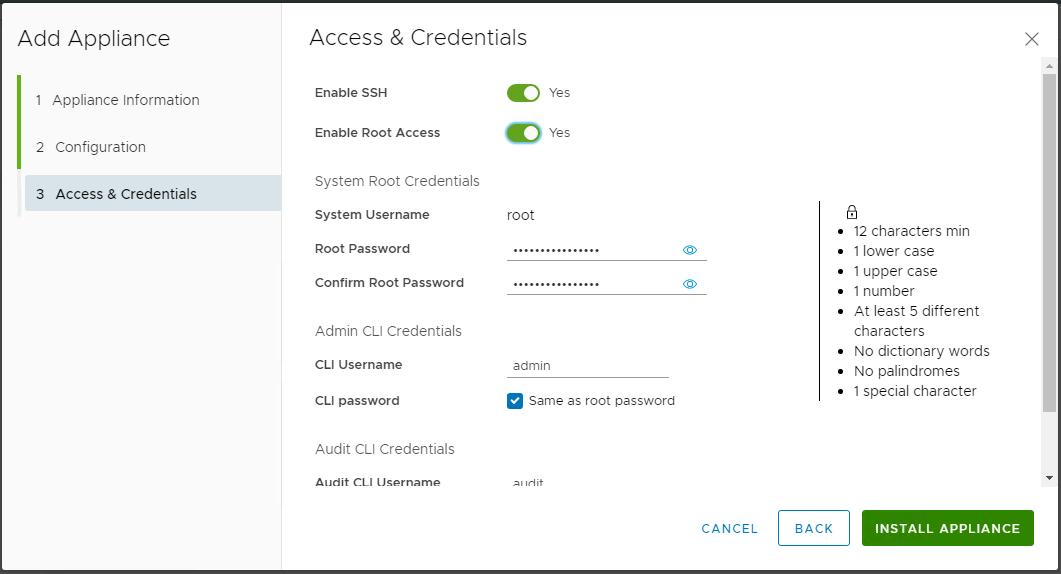
Wait for your 2nd NSX manager to deploy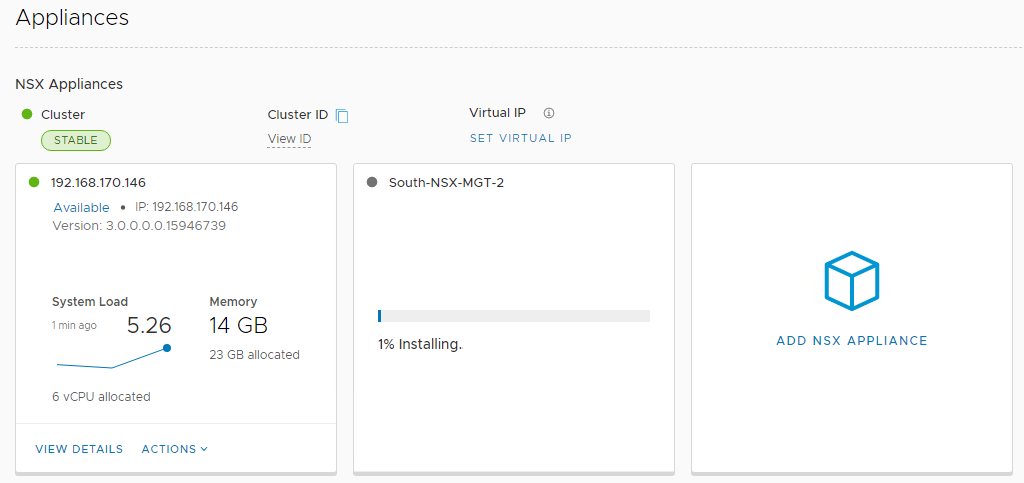
Once that above step has completed, you can go ahead and deploy the 3rd node in your cluster. Setup your DRS rules to keep the VMs separated 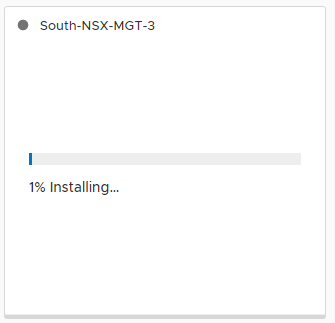
Under the same Appliances section, click Virtual IP and define your NSX Manager Cluster IP and save. This can take a while to complete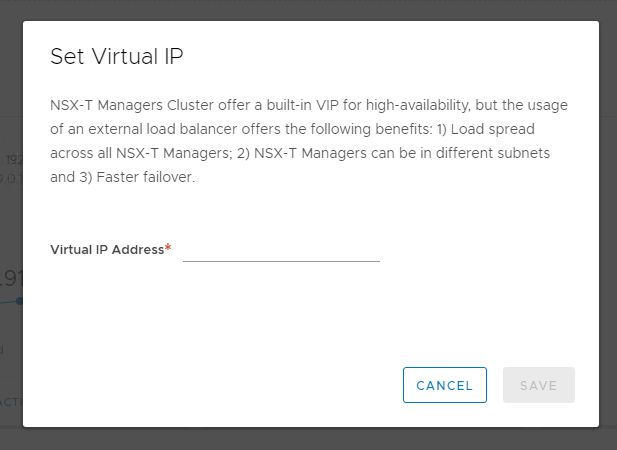
Confirm the cluster is stable and the virtual IP has been configured. 
Next we will move onto step 3 – Deploying IP Pools and Transport Nodes
![]()