Configure vRO to use a BitBucket Repo
Embarking on the journey of configuring VMware vRealize Orchestrator (vRO) or Aria Orchestrator to leverage an external Git repository for storing Actions and Workflows can significantly enhance your orchestration capabilities. In this blog post, we’ll unravel the steps to seamlessly integrate vRO with Git, providing you with an efficient mechanism for version control, collaboration, and even migration across different Orchestrator deployments.
Whether you’re looking to streamline your development process, adopt DevOps practices, or simply ensure a smooth transition to a new Orchestrator environment, configuring vRO with an external Git repository is a pivotal step. Join us as we navigate through the configuration process, empowering you to harness the full potential of version control for your orchestration workflows and actions. Let’s dive into the details and unlock a new realm of efficiency in your automation endeavours.
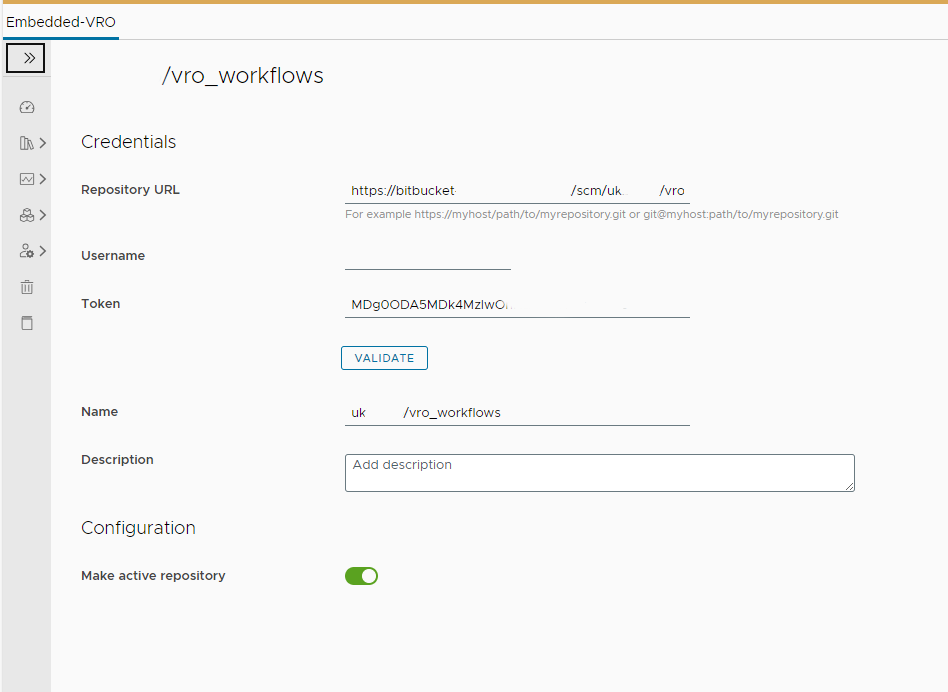
- Log into vRO, under Administration go to Git Repositories and select Add Repository. Here you will need to enter the repository URL, Username & Access Token, with that completed hit Validate to ensure that vRO can access the repository. If thats successful, hit the slider for Make Active Repository and click Save.
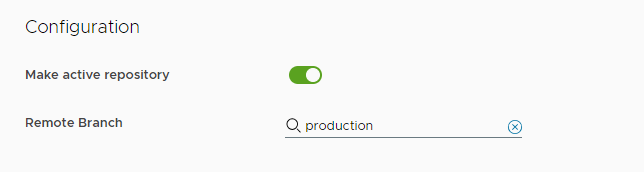
- Under Active Active Repository, you will then be able to define a branch.
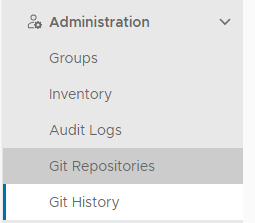
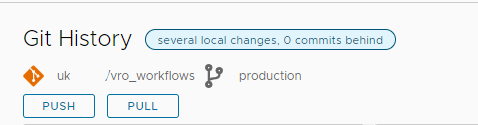
- Under Administration go to Git History.
- Here you will be able to see your configured repository as well as a list of changes from the local internal repository. When this is initially configured, it will list all objects (Workflows, Actions, Packages, Configurations etc) within vRO as waiting to be pushed to the repository. Press Push to send them to the repository
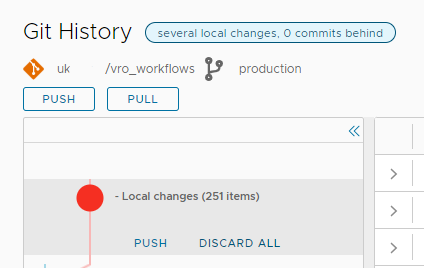
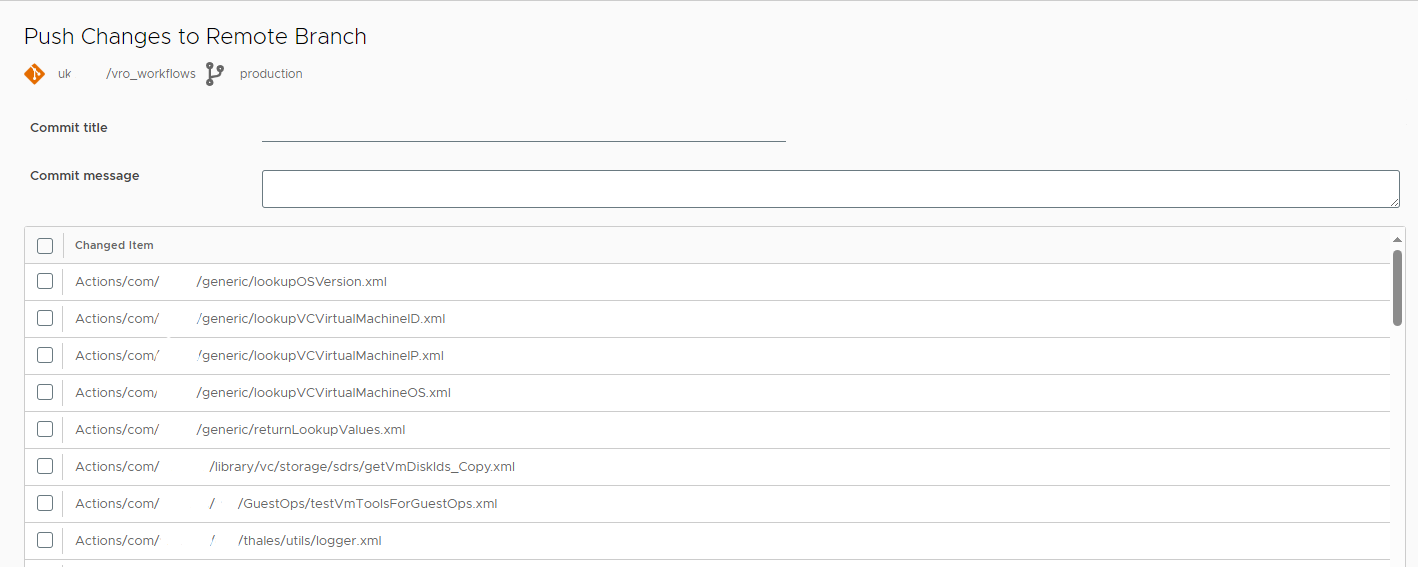
- Here we can select exactly which items we would like to push to our repository. Following the push, we confirmed that the size of the internal repo had significantly reduced, resolving the issues we had seen previously with the repo causing vRO to crash when it contains a large number of actions. You will need to enter a Commit name and Message before it allows you to push.
- Now the items are available in BitBucket, you can make changes directly to their code. After you make a change in the repo you will need to Pull it back into vRO. This isn’t an automated process
![]()